
I managed to actually complete a pinterest challenge. GOOOOOoooooooooooo me!!!
So, I've been trying to find another fun way to display/organize Taylor's ever growing hair accessory collection. It doesn't help that I started making them myself, so she's got a lot of clips etc. hanging around.
This was my inspiration for this pinterest challenge.

Back when we painted the kitchen, I had taken down a white shadow box frame that I had been using to display the weeks dinner menu. I replaced it with a clipboard and my household "to do" list, so I didn't need it and was thinking about adding it to my gallery wall in the hallway (and just realizing now I don't think I ever shared pictures of that...adding it to my to do list!)

A while back I ordered some super cute fabrics to use in my Etsy shop, and there was one pattern in particular that I fell in love with. I actually do not plan on using it for the Etsy shop because honestly, i'ts like artwork. I thought that using it in the shadowbox frame as a backdrop for something like the above picture would be perfect, but also figured I'd try a few other fabrics as well.

I love love LOVED the bird print and was all set to move forward with it when I realized that all the birdy prettiness would be covered up by hair clips and whatever else I decided to put in the frame, so I did the adult thing and used the pretty muted grey pattern. I'll be framing that fabric though and using it somewhere else soon!

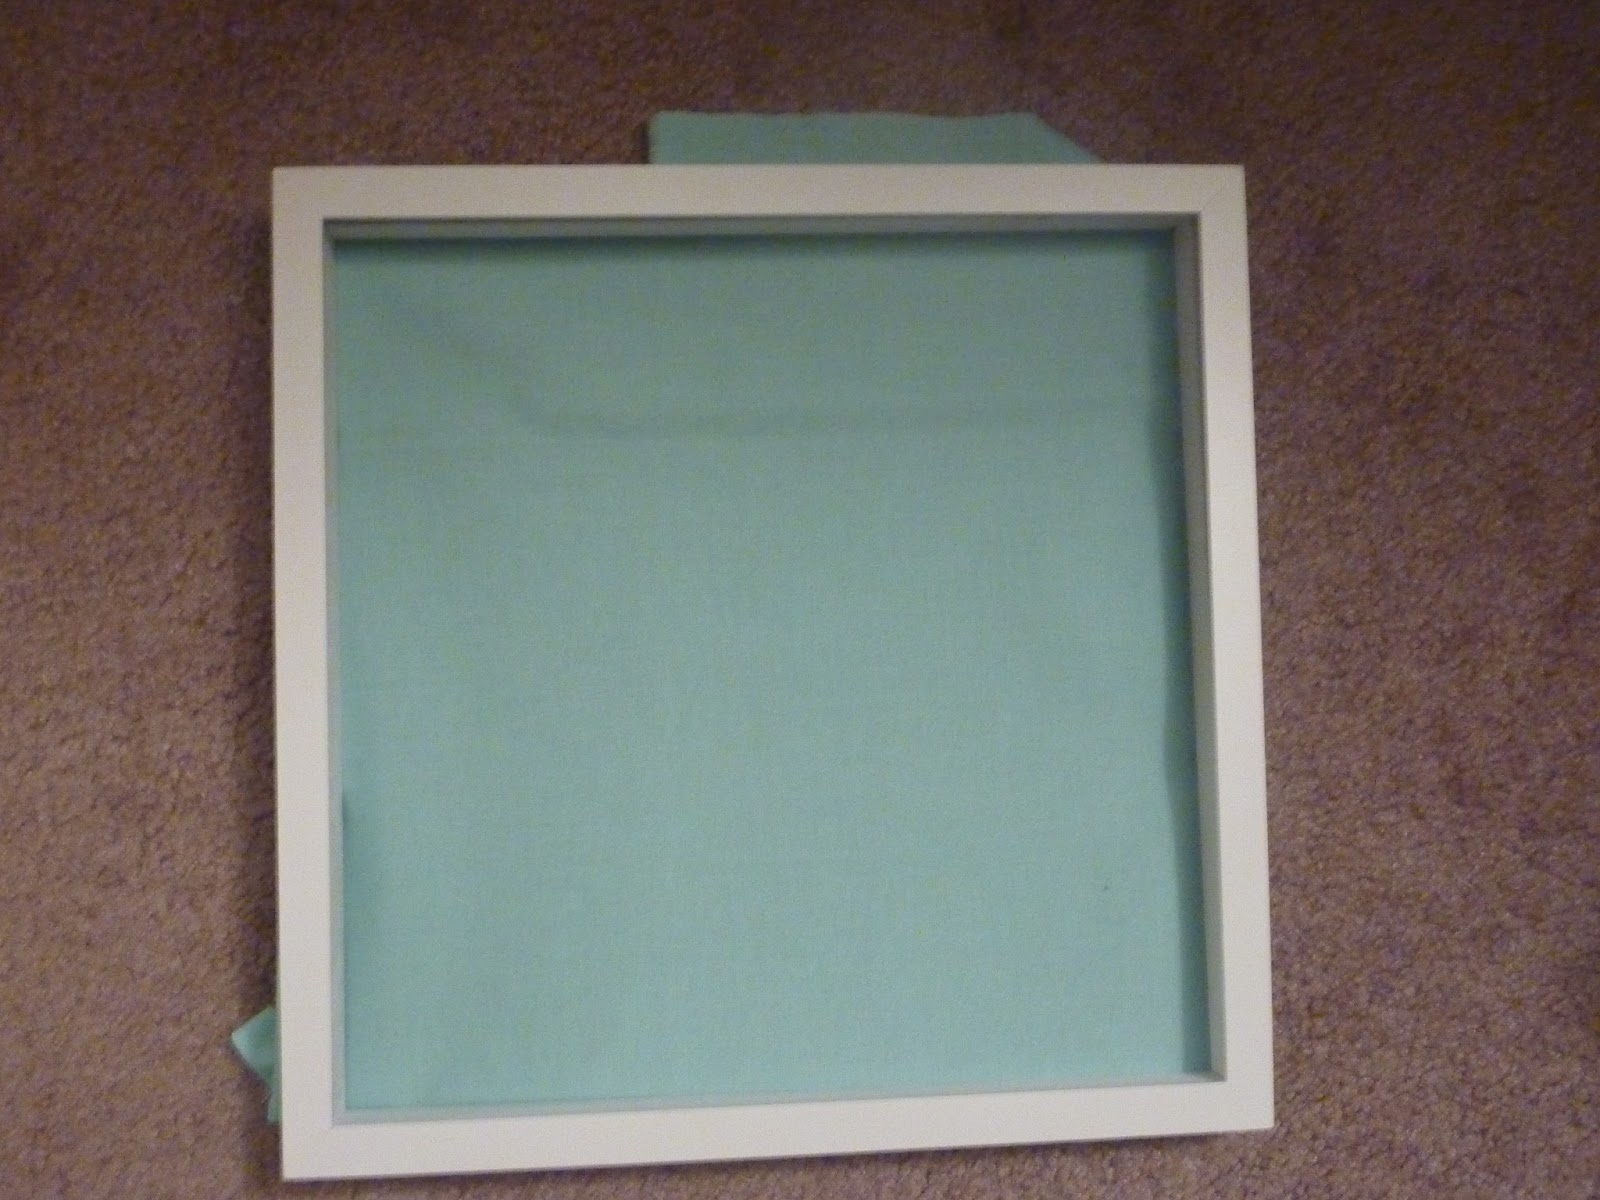

My plan of attack for attaching the fabric was to do something that wasn't permanent. This way I could change out the fabric and use it for something else later down the road. I took out the frame backing and simply used some double sided tape. I placed the tape all along the edges, then lay the fabric out and placed the backing over it. Pulled the sides tight and was done. I didn't worry about the corners since they'd be hidden by the frame. I just tucked those in.


Now it was time to figure out what I wanted to use to actually clip the barrettes to.


In the spirit of keeping things easily changeable, I actually just wrapped the ribbon around the frame backing and tied a bow. I plan on adding a few more ribbons, but for now, just have one to show you all what it looks like.

So, did you tackle a Spring Pinterest Challenge??? Make sure you head on over to one of the party hosts and link up if you did!!!

love this!!!!!! What a great idea!
ReplyDeletexo
Natalie
love this!!! What a great idea and I am proud that you did it since I did not... lol.
ReplyDeletexo
Natalie
What a cute idea! I'm pinning so I can remember this when I redo my daughter's room. She has lots of hair "stuff" that I'm not sure what to do with!
ReplyDelete:) Linda
Nice job!! I could have used something like this when my girls were little! And thanks for stopping by my blog and leaving such a sweet comment about my twine holders!
ReplyDelete--Elena
acasarella.net